
Manage Invoices for your club. More in particular, the Invoices that your Members should pay for the annual membership fee, special fees for participation to certain Competitions, etc.
Enable the use of Invoices first!
By default, use of Invoices is disabled. For enabling this functionality, go to ‘Invoice Options’ section on the “General Options” page.
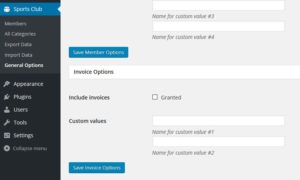
Select the ‘Include invoices’ option and save the setting by clicking the ‘Save Invoice Options’ button.
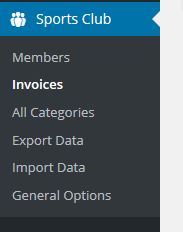
You’re now ready to enter Invoices, as the menu shows.
Creating, editing, and deleting an Invoice
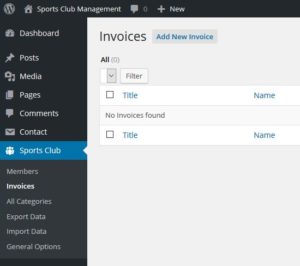
Create a new Invoice by clicking the ‘Add New Invoice’ button on the Invoices page.
You can enter the following information for an Invoice:
- Title
Any post in WordPress has a title. You can enter an invoice ID here. - Fields (Invoice Data)

This is the record for an individual Invoice. In the drop-down list select the Member to whom the Invoice is sent. Like Member Data, Invoice Data has custom fields too. There are 2 custom fields that you can use to your liking. The names of these fields can be set on the “General Options” page. - Categories
Editing and deleting an Invoice works like any WordPress post.
When an Invoice has been published, some Member specific data is presented for quick reference in an additional meta-box.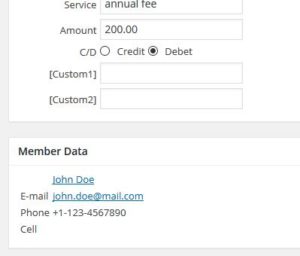
Select the Member’s name (John Doe) to go to the Member post directly. Select the Member’s e-mail address to start you e-mail client.
Bulk import – create Invoices by Member category
Next to entering individual Invoices, creation of many Invoices at a time is supported. This feature can, for example, be used when creating the Invoices for the annual fee: each Member shall have its own Invoice.
Select “Import Data” from the menu and go to the ‘Create Invoices by Member Category’ section.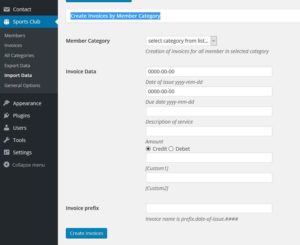
Select a Member category from the drop-down list. Enter the Invoice Data and (optionally) add a ‘prefix’ that is used for the Invoice’s title. For example, prefix ‘AnnualFee’ results in an Invoice title of ‘AnnualFee.2016-01-01.#’ (where # is a unique number); note that in this example, the Invoices are issued on Newyear’s day.
Click the ‘Create Invoices’ button when all data has been entered.
Note: the newly created Invoices have a post-status of Draft to allow a final review. Use the standard WordPress way to change the post-status to Published.
Exporting Invoices to a CSV file
Select “Export Data” from the menu.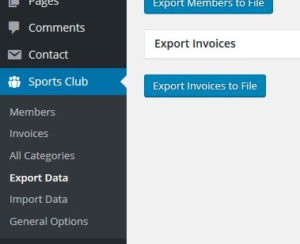
Press the ‘Export Invoices to File’ to download all Invoices.
Invoice options
The “General Options” page provides Invoice options.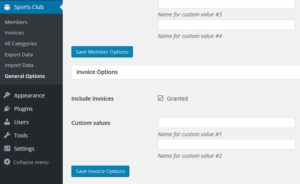
Here, the field names of the (two) custom fields are defined.